Overview:
Many of my hobbies and projects always seem to come down to being powered by some sort of lithium battery. While lithium batteries are readily accessible and somewhat cheap, there has been some applications where a custom fitted battery pack would be better. Lithium polymer cells aren't very cheap and seem to always come in inconvenient large rectangular cells. Though the lithium ion cells come in very convenient cylinder form factor that can be fitted anywhere in a project.
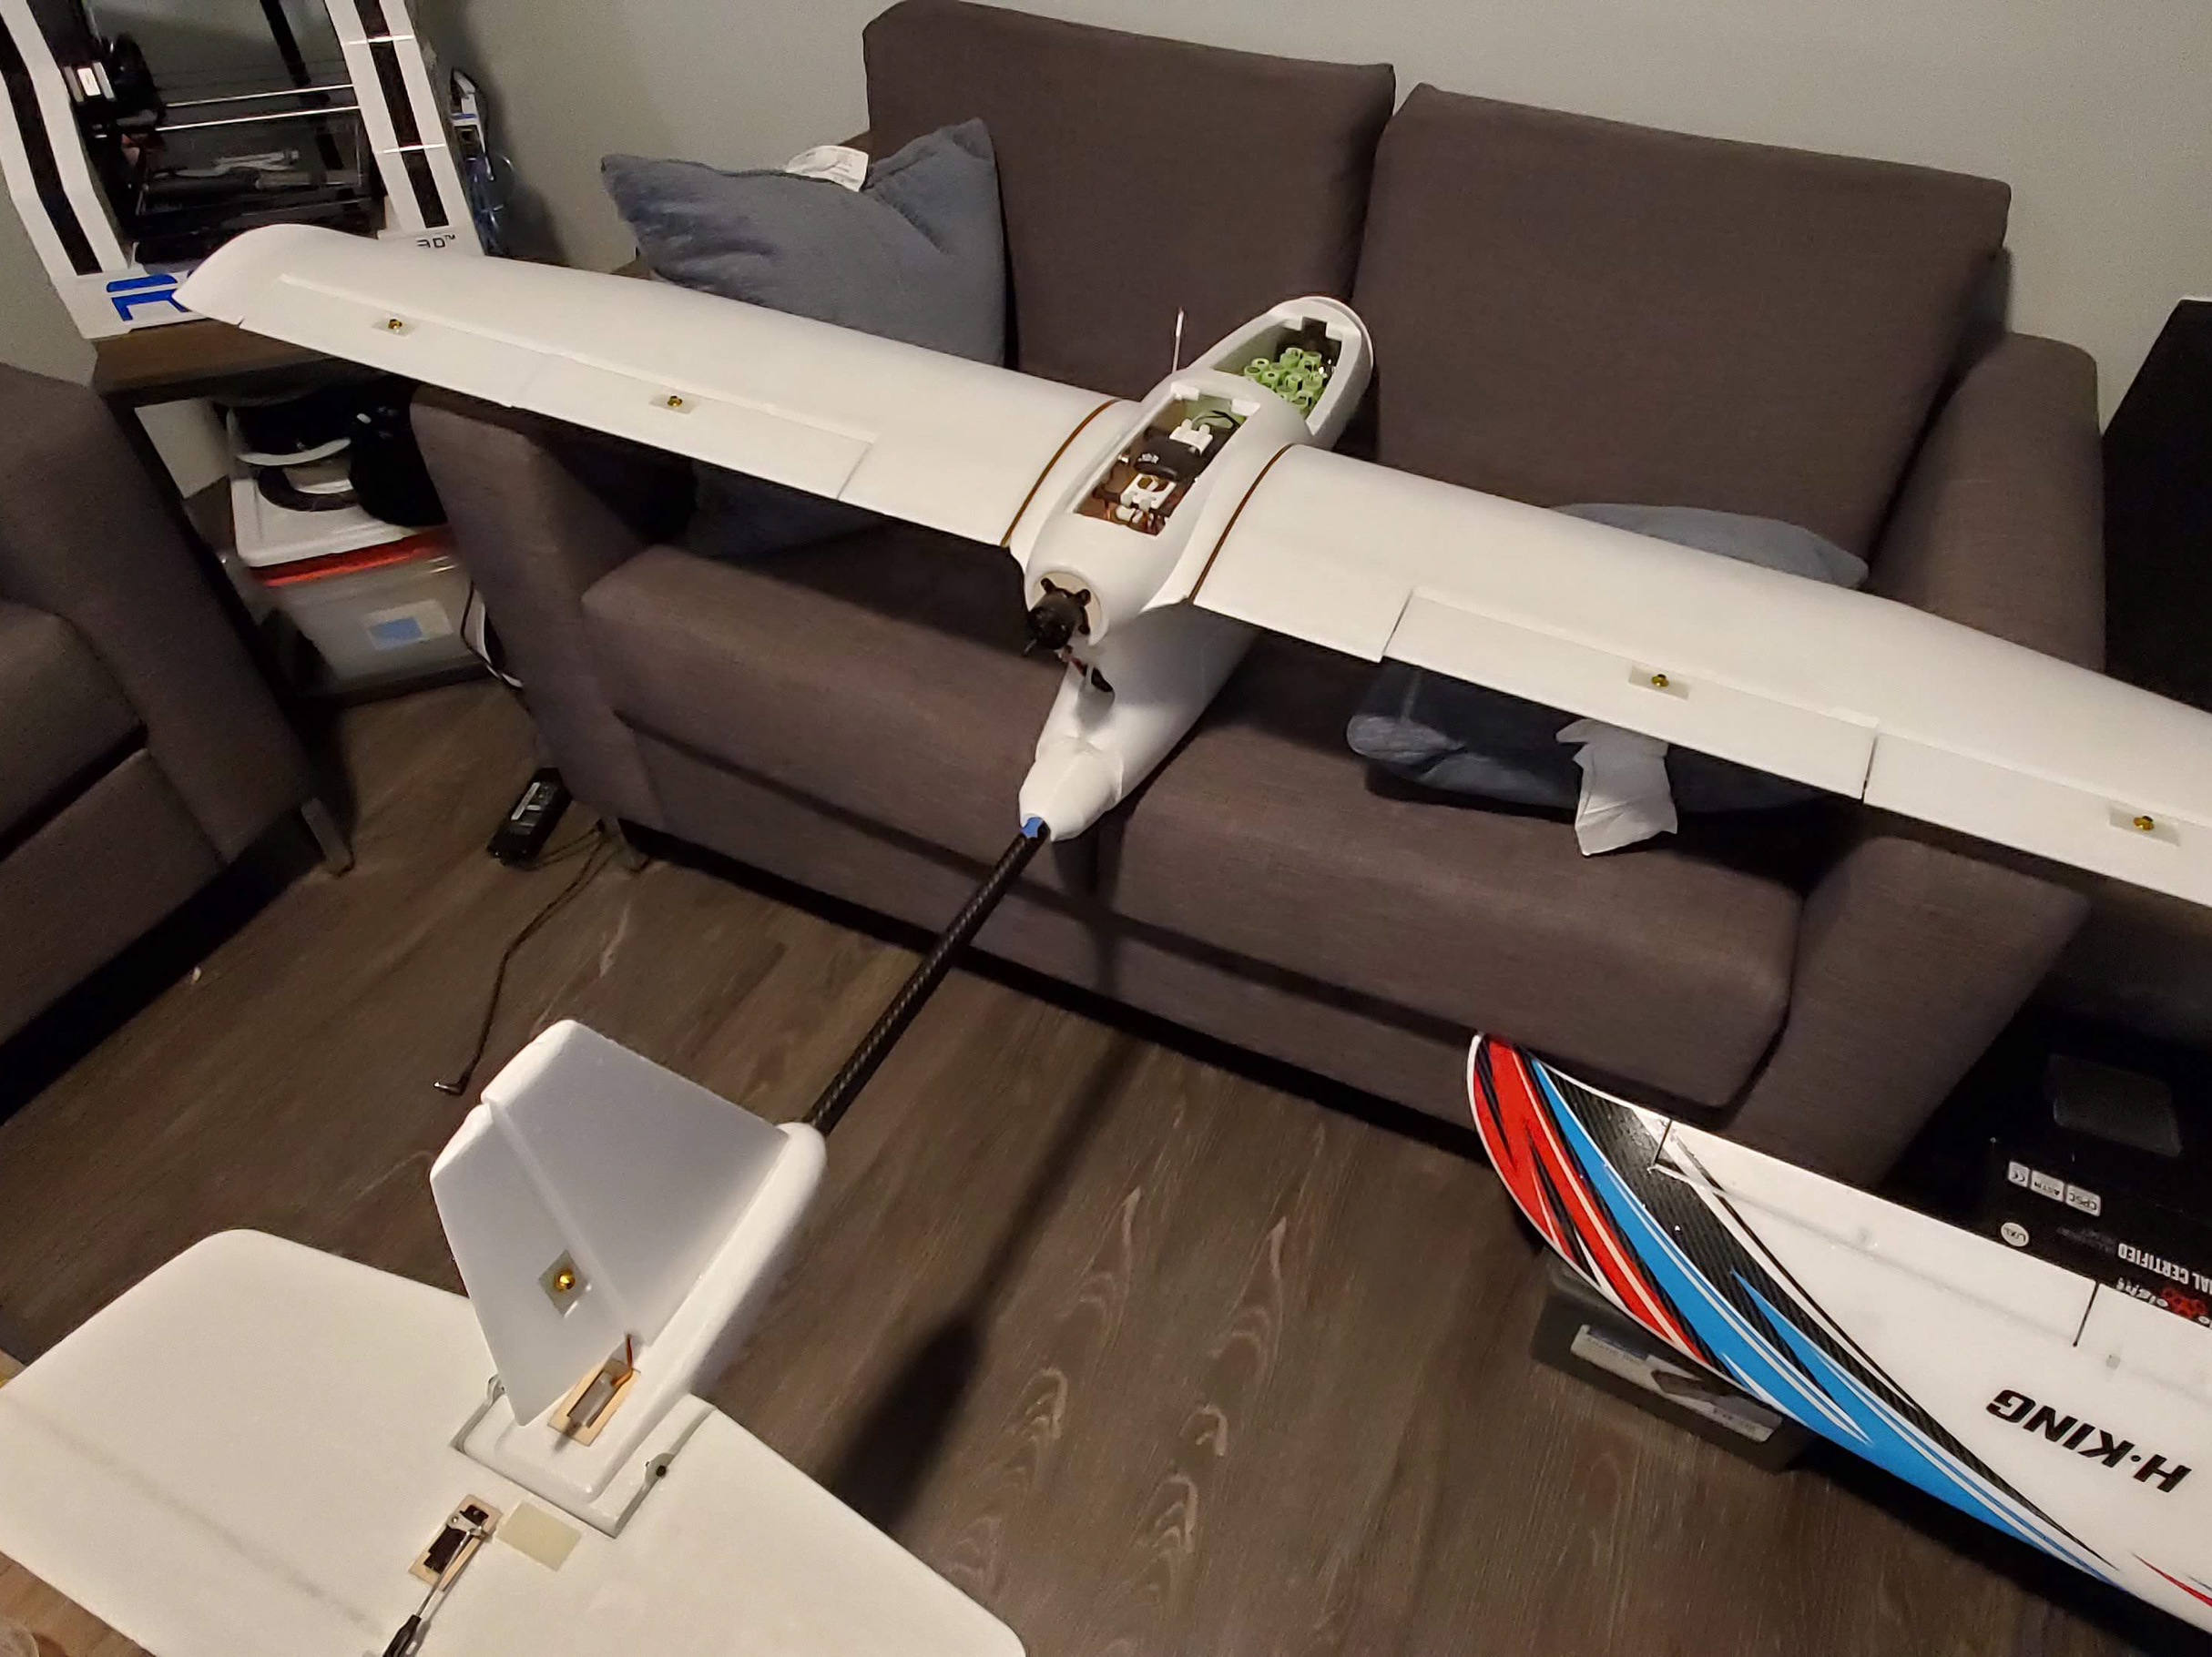
For my autonomous plane project, I had to have a better battery power per kilogram rating than what lithium polymer batteries were giving me. At about 6 watt-hours per kilogram, the plane could only operate for about 30 minutes before needing a full recharge. With my custom battery, this would increase to about 15 watt-hours per kilogram. With this capacity, the flight time would be pushed far enough past the one hour flight time so longer distance missions could be achieved.
Assembly:
The building started with selecting the correct cell for the project. For most cells, the usual discharge was never rated for more than an amp. Though the brushless motor on the plane required a max of 40 amps from the batteries. Then I decided I would use five packs of four cells in parallel. That way the current draw from each pack wouldn't exceed 10 amps. With the current limit in mind, I chose the Panasonic NCR18650PF cells that are 2900mAh per cell with a max discharge of 10 amps. These cells are also what Tesla used in a lot of the Model S cars due to their reliability and high discharge. The motor required a 14.8 volt input which would require that I have four cells in series. So four cells in series to form a pack and then five packs in parallel to give the capacity and current requirements would come out to 20 cells required. The configuration of the packs is shown below inside the plane:
Before, the lithium polymer cells size would prevent the batteries from sitting so far up in the nose of the aircraft. With the ability to change the layout of the cells, the weight of all the batteries could be shifted further towards the front of the aircraft allowing more wiggle room in the placement of the center of gravity for the plane before flight. After the layout and cell configuration was determined, the actual manufacturing of the packs began.
The first step was to solder onto the nickel interconnects for the main power leads and the balance leads. Instead of using a battery management system for the whole pack, I resulted back to the same way lithium polymer cells handle cell management by allowing the charger to monitor the cells while charging the individual packs. For this, I needed to attach the battery leads for the main power connector and also attach a balance connector leads for the charger.
Each pack would require three nickel interconnects to make the four cells in series and each interconnect needed a balance lead for the charger to monitor the voltage for each cell. The wires needed to be soldered initially to the silver since the cells are very sensitive to heat and will go bad immediately if exposed to the temperatures of soldering. The end result had ten power leads, ten longer balance leads and nickel interconnects, and five shorter balance leads and nickel interconnects to connect all the required wires in the correct places.
The next step required a specific tool for spot welding the cells to the nickel. Inside the cells, there is a thermal fuse that trips around 100 Celsius to prevent the battery from exploding in case of the battery being shorted out. Though this means that soldering can't be used to attach the nickel to the cells since the soldering temperature is way above that threshold. Though spot welding only allows the cells to get around 80 Celsius per weld and it won't cause the fuse to trip. The nickel was rated for a continuous current of 12 amps at 0.2 millimeters thick so they were the perfect candidates for the interconnects within the battery packs. The process of spot welding was fairly simple and created very reliable and strong connections with the cells.
With all of the interconnects completed, the final step was to install the appropriate connectors. Since the pack was going to be charged with a standard lithium polymer charger, the easiest connector to use is an XT-60 connector that can handle up to 60 amps for the main leads and a JST-XH connector for the balance lead.
Once all of the connectors were installed, heat shrink was used to cover all of the solder connections and the whole pack to prevent electrocution. The decision was made not to connect the five packs together so that the individual cells could be monitored much closer and so that the packs could be used on other various projects that I work on. The five packs then can be put in parallel through a custom 4-1 splitter for the XT-60 connectors on the batteries and then the wire jacket connects to the main power line for the aircraft.
Conclusion:
After researching and understanding the benefits of custom battery packs, I definitely will try to use custom battery packs in my future projects. After building the first pack, the whole process is very simple and easy and can be adapted to many shapes, voltage, and current requirements. The increased energy density of the lithium ion cells will also push me towards using these cells, instead of lithium polymer cells, for many aircraft based projects so I can get more flight time and better performance from my batteries.
